Paint chips on walls are a common issue in many homes across Kitchener, Waterloo, and Cambridge. They can occur due to everyday wear and tear, moving furniture, or even changes in temperature and humidity. While a few chips might seem minor, leaving them untreated can make a room look worn and neglected. Repairing paint chips does not have to be difficult, and with the right approach, you can restore your walls to a smooth, fresh finish.
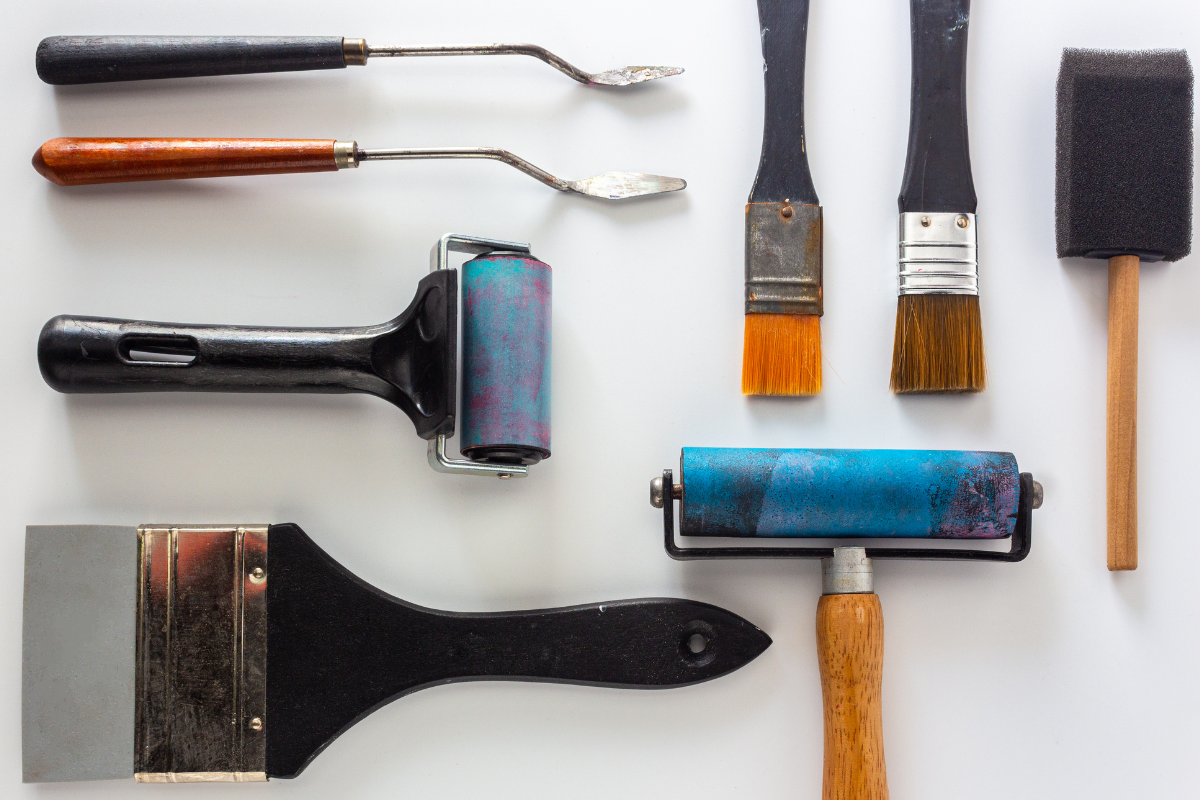
Step 1: Gather Your Materials
Before starting, ensure you have all the necessary tools on hand. You will need fine-grit sandpaper, a putty knife, wall spackle or filler, a clean cloth, primer, and matching paint. If the chipped area is small, a simple touch-up may suffice. For larger damaged areas, more preparation may be needed to ensure a smooth repair.
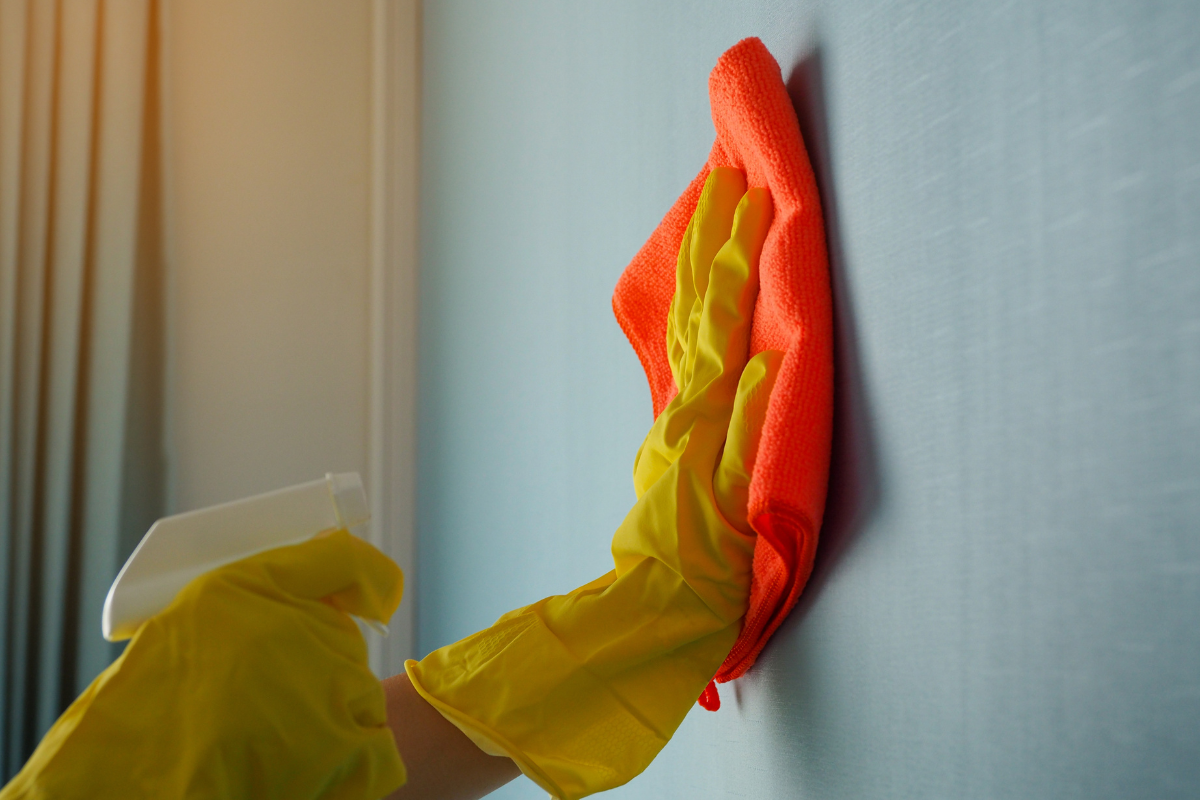
Step 2: Clean the Area
Start by cleaning the chipped area with a damp cloth to remove dust, dirt, and grease. Any debris left on the wall can prevent the filler or paint from adhering properly, resulting in a patch that may peel or crack over time. Cleaning also helps you clearly see the size and depth of the damage.
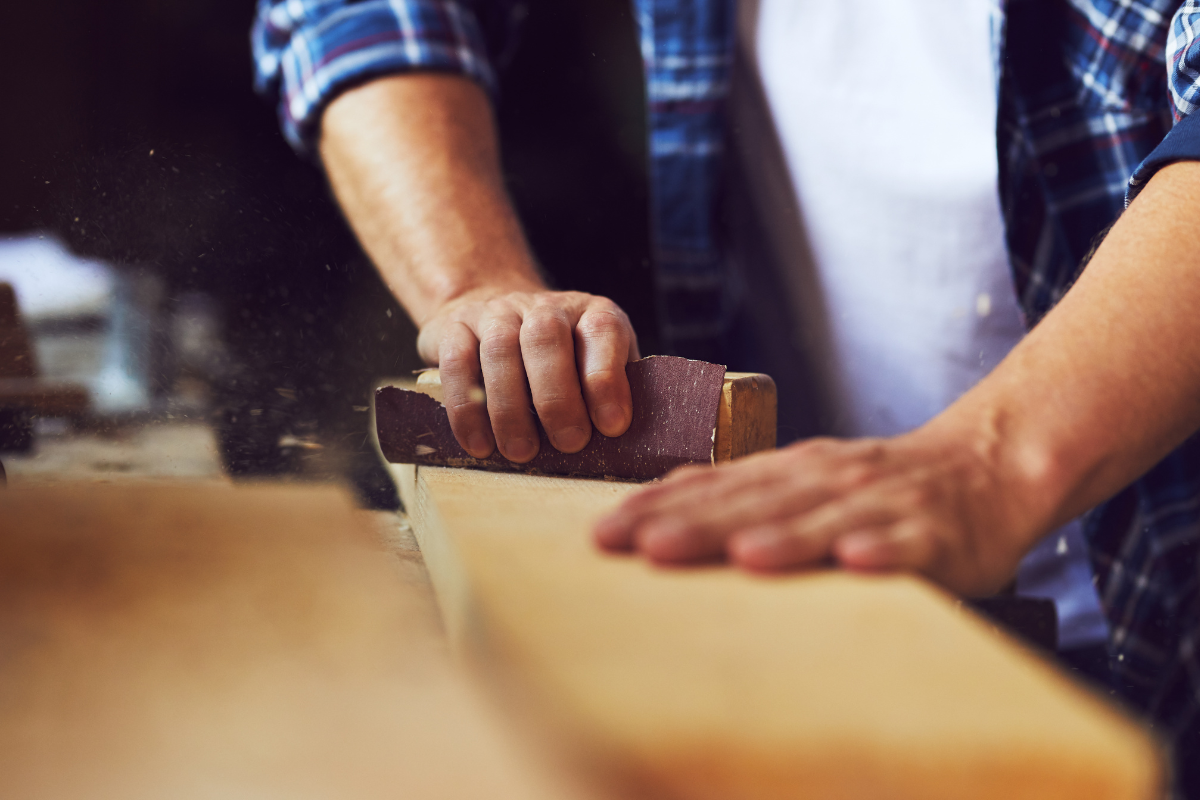
Step 3: Sand the Edges
Use fine-grit sandpaper to gently sand the edges around the chip. This will smooth out any rough spots and create a slightly textured surface for the filler to stick to. Sanding also ensures that the repaired area blends seamlessly with the surrounding wall once painted.
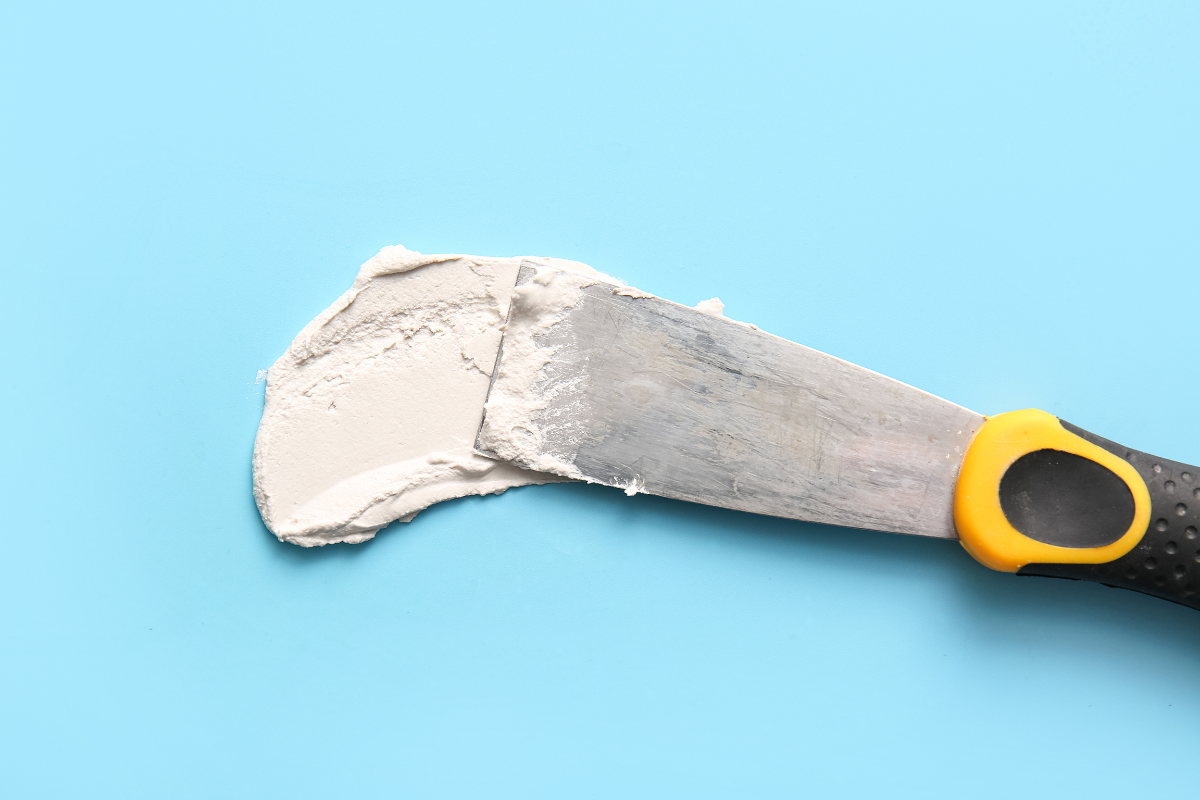
Step 4: Apply Filler or Spackle
Using a putty knife, apply a thin layer of wall filler or spackle over the chipped area. Press firmly to fill in all gaps and remove excess filler for a smooth finish. Let it dry according to the manufacturer’s instructions, usually for a few hours. For deeper chips, you may need to apply a second layer once the first layer has dried.
Step 5: Sand Again and Prime
Once the filler has dried completely, lightly sand the repaired area to create a smooth surface. After sanding, wipe the wall with a clean cloth to remove dust. Apply a primer to the patched area, especially if the wall has a dark or bright paint colour. Priming ensures the paint adheres well and prevents the patched area from standing out.
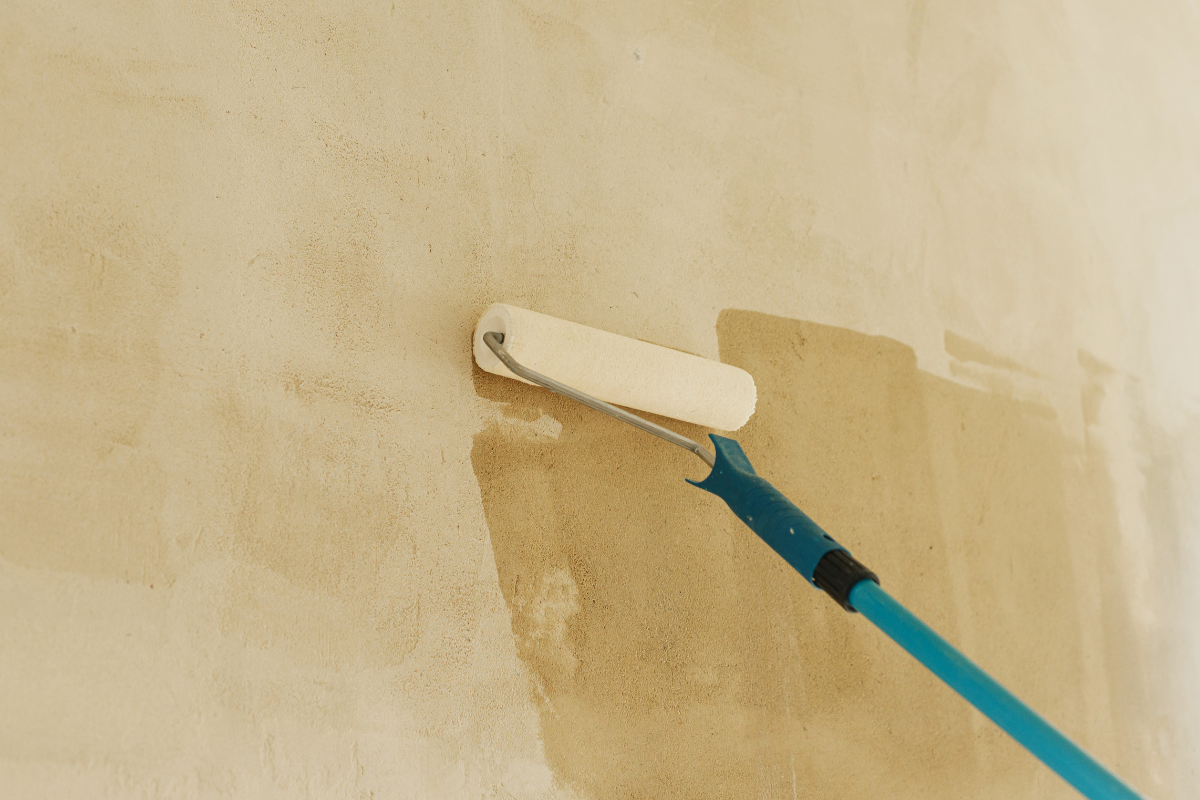
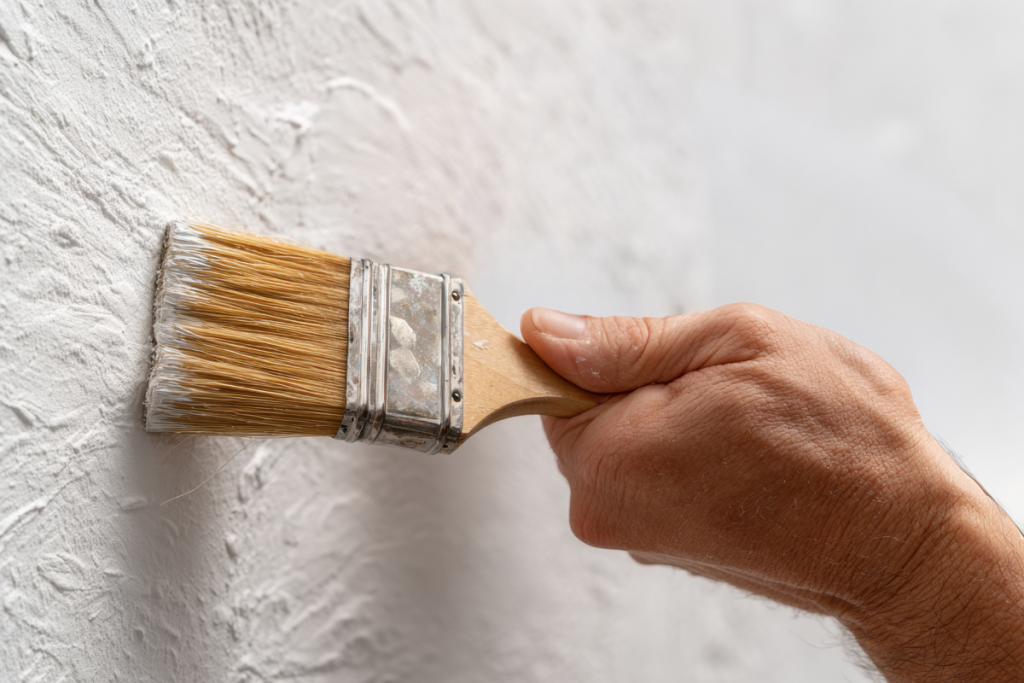
Step 6: Paint the Wall
After the primer dries, use a small brush or roller to apply matching paint to the repaired spot. Feather the edges into the surrounding wall to blend the colour seamlessly. Depending on the paint type, you may need a second coat to achieve full coverage.

Step 7: Maintain Your Walls
To prevent future chips, be mindful of moving furniture or heavy objects near walls. Regular cleaning and inspection can help catch minor damage before it becomes more noticeable. If you are planning a larger update, such as a bathroom renovation or a complete wall remodelling, consider hiring a licensed professional. A remodelling contractor for the job can ensure the walls are properly prepared, painted, and finished for long-lasting results.

Repairing paint chips is a manageable home improvement task that can make a significant difference in the appearance of your living space. Taking a practical approach and using the right materials can restore your walls to their original look without the need for costly renovations. Whether tackling small touch-ups or planning a more extensive expert home renovation, following these steps will keep your walls looking fresh and well-maintained.