
Preparing walls properly before painting is one of the most overlooked steps in a home renovation. Many homeowners in Kitchener, Waterloo, and Cambridge focus on colour choice and paint quality, but skip surface preparation. Clean walls help paint stick better, look smoother, and last longer. If you are planning to repaint a room yourself or coordinating work as part of a larger Expert home renovation, this guide will walk you through the process clearly and safely.
Why washing walls matters
Walls collect dust, oils, smoke residue, and everyday grime. In kitchens and bathrooms, grease and moisture make the problem worse. Paint applied over dirty walls can peel, bubble, or show streaks over time. Washing walls removes invisible buildup and creates a surface that allows paint to bond properly. In older homes across South West Ontario, this step is especially important due to years of wear and seasonal humidity.
What you need before you start
Gathering the right supplies saves time and prevents damage. You will need:
- A bucket of warm water
- Mild dish soap or a wall cleaner
- A soft sponge or microfiber cloth
- Rubber gloves
- Drop sheets or old towels
- A step ladder for higher areas

Avoid harsh chemicals unless absolutely necessary. Strong cleaners can leave residue that interferes with paint adhesion.
Step by step wall washing process
Start by removing wall hangings, outlet covers, and switch plates. Place drop sheets along the base of the walls to protect flooring.
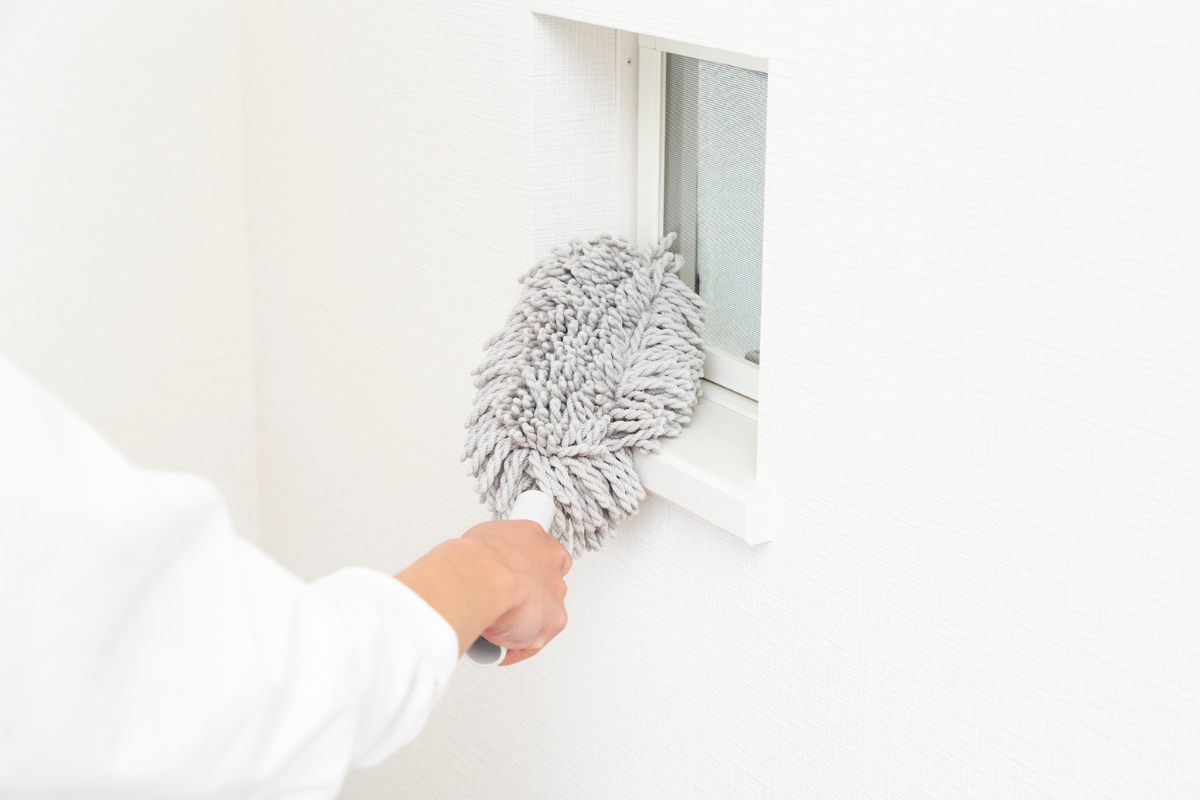
Dust the walls first using a dry cloth or vacuum with a brush attachment. This prevents dust from turning into muddy streaks when wet.
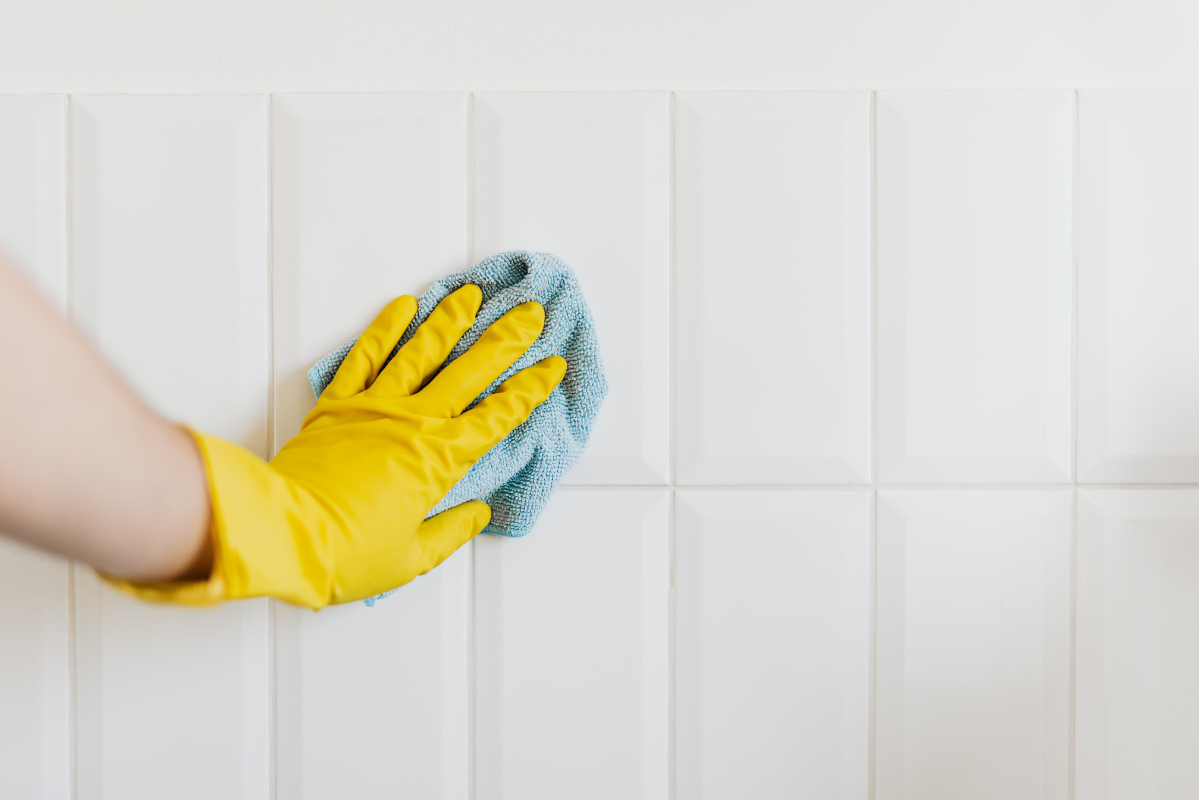
Mix warm water with a small amount of mild soap. Dip your sponge, wring it well, and gently wipe the wall from top to bottom. Work in small sections so you can keep track of progress. Rinse the sponge often.
For kitchens, areas near light switches, and high traffic hallways, you may need a bit more pressure. Do not scrub aggressively, especially on drywall, as it can damage the surface.
After washing, wipe the walls again with clean water to remove soap residue. Allow the walls to dry completely. In Ontario homes, drying may take longer during colder months, so plan accordingly.
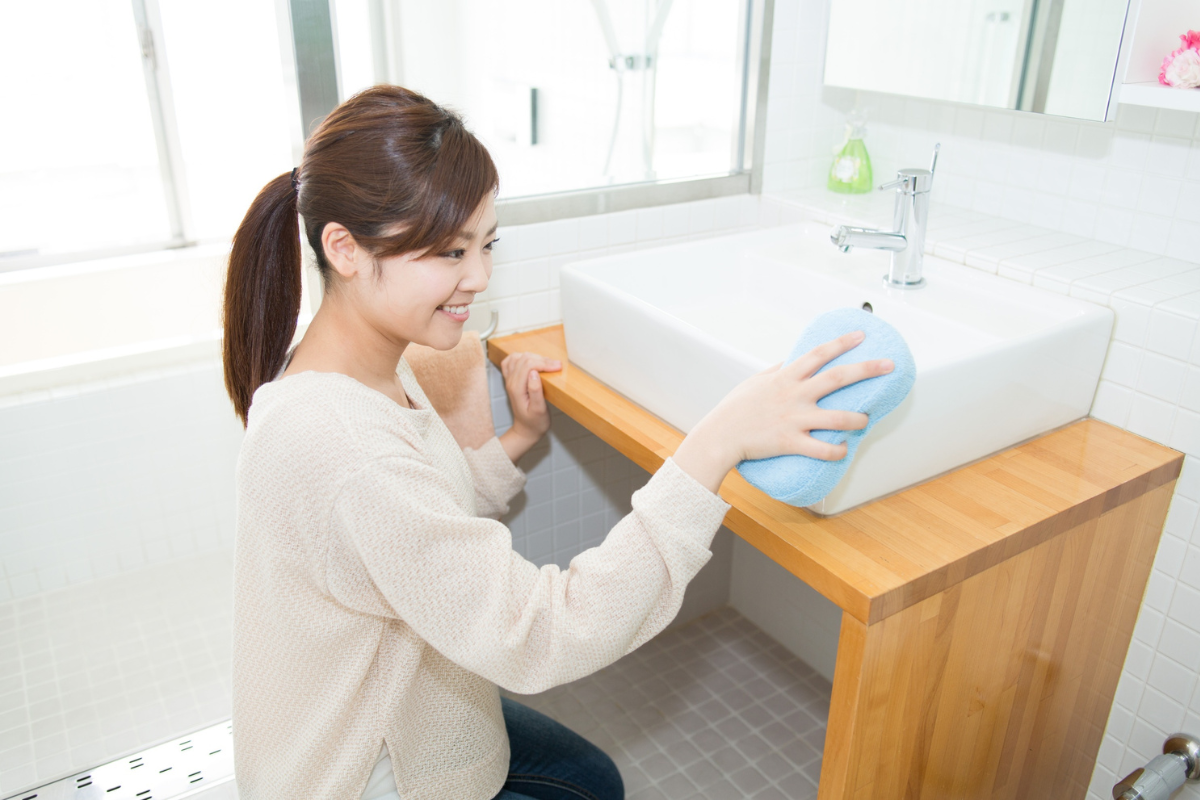
Special considerations for different rooms
Bathrooms often have soap residue and mildew. Use a mild cleaner designed for bathrooms and ensure proper ventilation while cleaning.
Basements in Kitchener and Cambridge homes can have higher moisture levels. If you are prepping walls as part of a basement update with a Basement contractor, check for signs of mould or dampness before painting. Painting over moisture issues can lead to future problems.
Common mistakes to avoid
Skipping the rinse step is a frequent error. Leftover soap can cause paint to streak or peel. Another mistake is painting before the wall is fully dry. Even slight dampness can affect the final finish.
Do not assume new walls are clean. Fresh drywall often has dust that must be removed before priming or painting.
When to consider professional help
If walls are heavily stained, damaged, or part of a larger remodelling project, professional guidance can help avoid costly mistakes. Wall preparation may seem simple, but it plays a major role in the durability of the final result.

Washing walls before painting is not complicated, but it requires patience and attention to detail. For homeowners in Waterloo, Kitchener, and Cambridge, this step helps ensure paint jobs hold up well through seasonal changes and daily use. Clean walls lead to smoother finishes and better long term results.