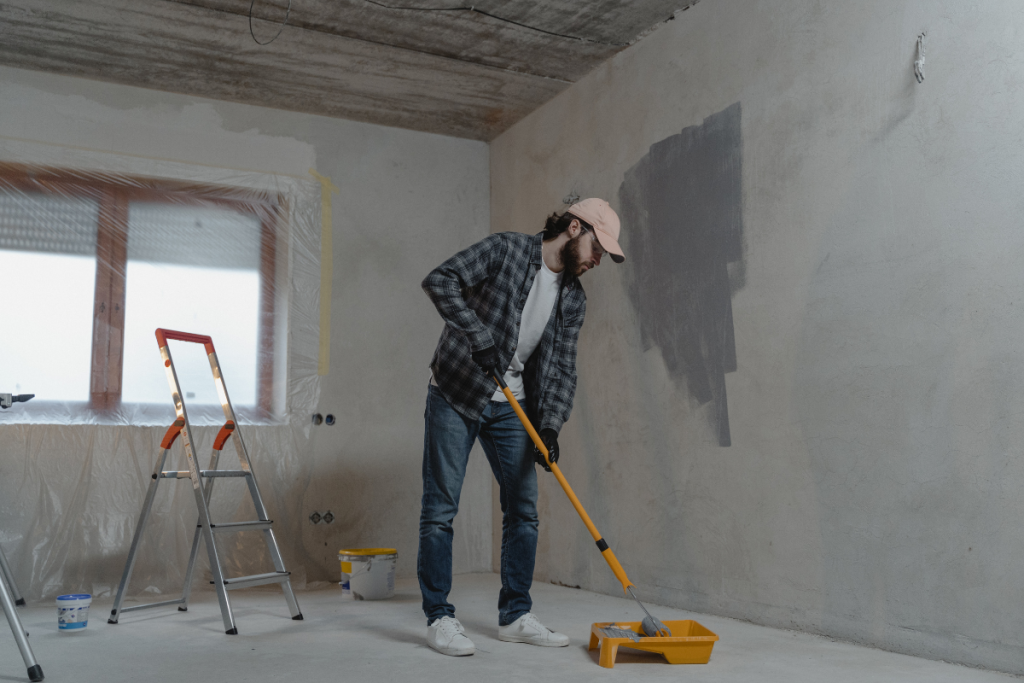
Preparing your walls properly before painting is one of the most important steps in any home update. For homeowners in Kitchener, Waterloo, and Cambridge, this step matters even more because Ontario homes often deal with seasonal humidity, older drywall, and past repairs that show through paint if ignored. Good preparation leads to a smooth finish and helps paint last longer.
Below is a practical, homeowner focused guide to getting your walls ready the right way.
Start with a close inspection
Before touching a paintbrush, look carefully at your walls in natural daylight. Check for nail holes, dents, cracks, peeling paint, and water stains. Older homes in Kitchener and Cambridge often have multiple layers of paint, which can hide uneven surfaces. Identifying problems early helps you avoid rushed fixes later.

If you see signs of moisture damage, especially in basements or bathrooms, address the source first. Painting over damp areas will only lead to peeling paint.
Clean the walls thoroughly
Walls collect dust, grease, and residue over time, especially in kitchens, hallways, and near light switches. Paint does not bond well to dirty surfaces.
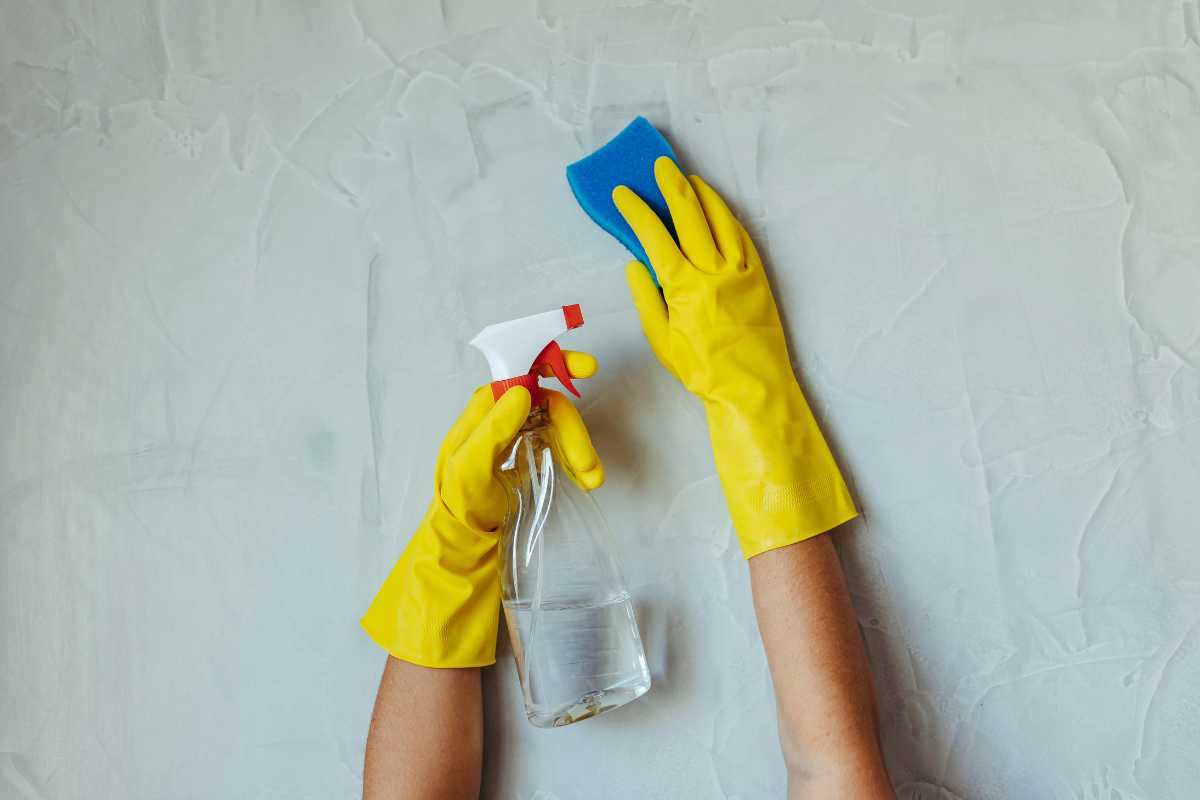
Use warm water with mild dish soap and a soft sponge. In kitchens, a degreasing cleaner can help remove cooking residue. Rinse with clean water and allow the walls to dry fully. In South West Ontario, drying can take longer during humid months, so give it enough time.
Repair holes and cracks
Small holes from nails or screws should be filled with spackling compound. Larger cracks may need joint compound and reinforcing tape. Apply filler in thin layers, allowing each layer to dry before adding more.
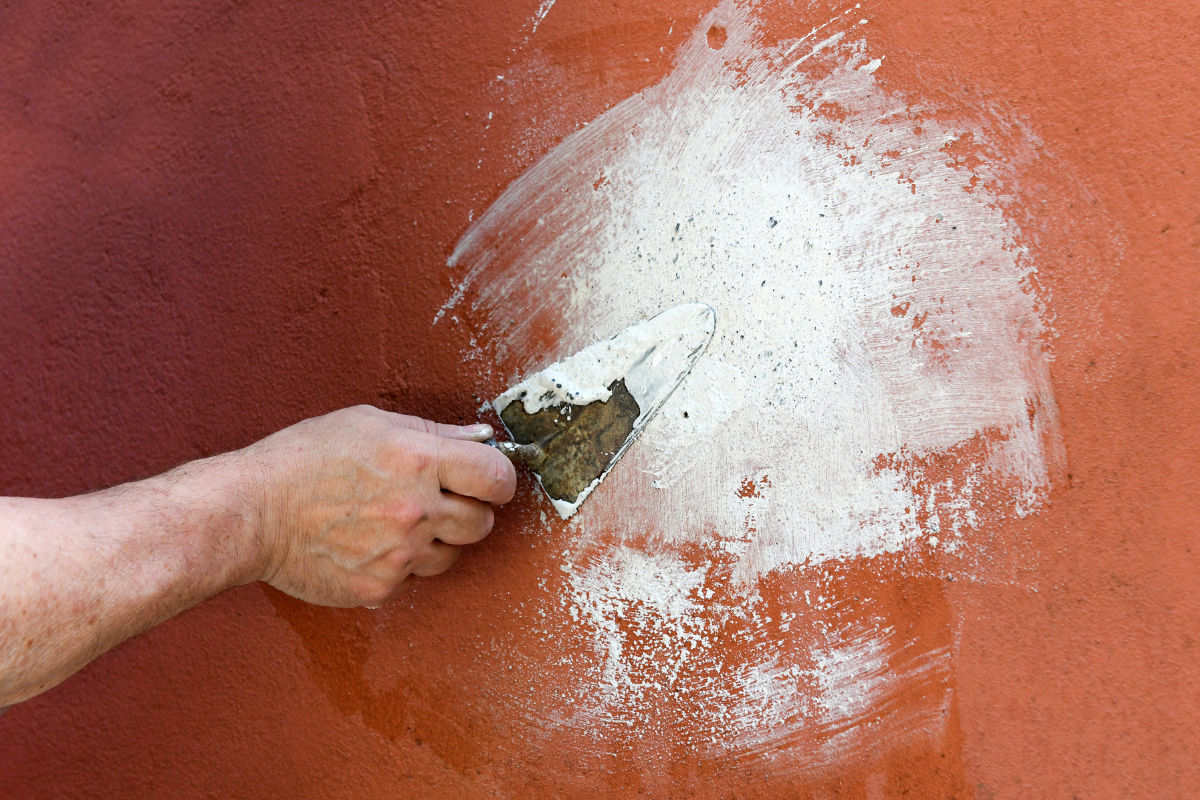
Once dry, sand the area gently until it blends smoothly with the wall. Run your hand over the surface. If you can feel a bump, it will likely show after painting.
Sand uneven surfaces
Sanding is often skipped, but it makes a noticeable difference. Lightly sand glossy or previously painted walls to help the new paint adhere better. Focus on patched areas, rough spots, and old brush marks.
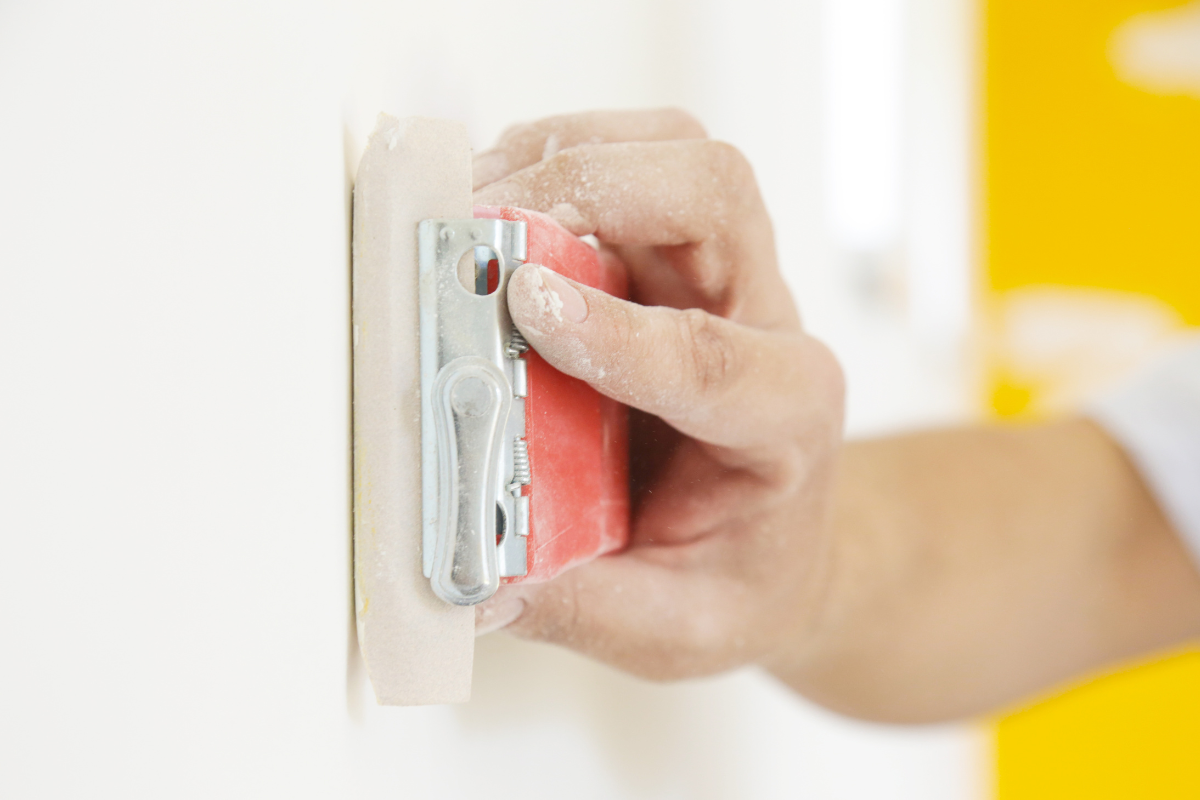
Use fine grit sandpaper and avoid pressing too hard. After sanding, wipe down the walls with a damp cloth to remove dust.
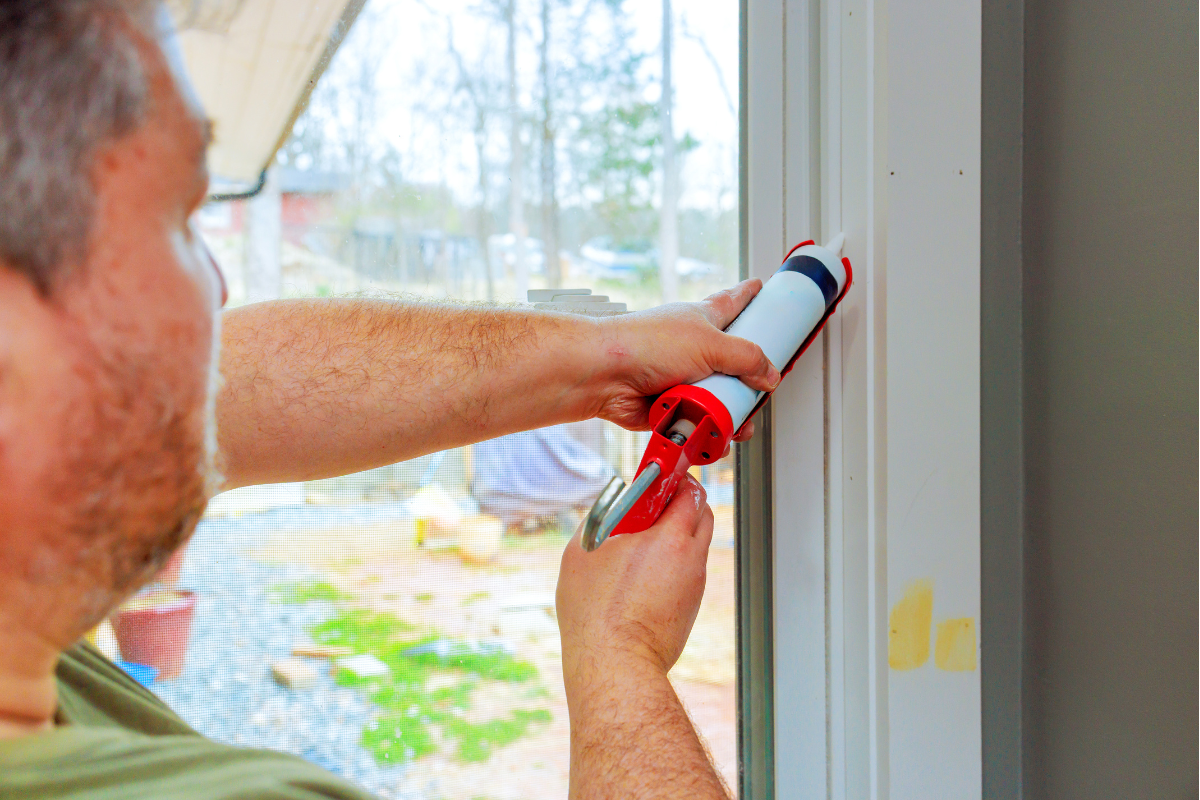
Apply caulking where needed
Check corners, trim edges, and areas around windows and doors. Small gaps can make a finished paint job look unfinished. Use paintable caulk to seal these gaps. Smooth the caulk with a damp finger and let it cure according to the product instructions.
Prime before painting
Primer is essential, especially if you repaired walls, are covering dark colours, or are painting over stains. Primer helps create a uniform surface and improves paint durability.

In many Waterloo and Cambridge homes, primer is particularly helpful when transitioning from older oil based paints to modern latex paints.
Know when to get professional help
Preparing walls can take more time than expected, especially in older homes or during larger projects like a Bathroom renovation. Homeowners who want consistent results often consult an Expert home renovation team for guidance or assistance.
Working with a Certified contractor in local area can also help ensure repairs meet building standards, especially when wall preparation is part of a larger renovation plan.
Proper wall preparation is not complicated, but it requires patience and attention to detail. Clean surfaces, smooth repairs, and the right primer all contribute to a paint job that looks good and lasts. For homeowners in Kitchener, Waterloo, and Cambridge, taking these steps helps protect your home and your investment.