

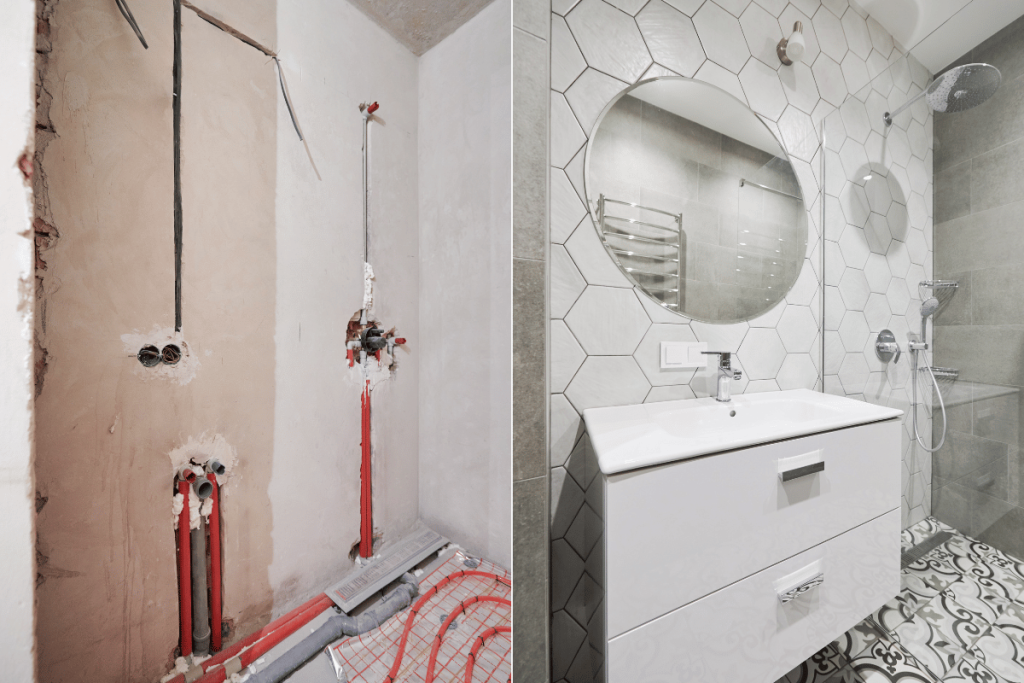
Replacing a bathroom vanity is one of the most effective ways to refresh your space without taking on a full remodel. For homeowners in Kitchener, Waterloo, and Cambridge, this upgrade can improve both function and style while staying within a manageable budget. Whether you are dealing with outdated cabinets, water damage, or simply want a modern look, knowing the correct process can save time and prevent costly mistakes.
When Should You Replace Your Bathroom Vanity
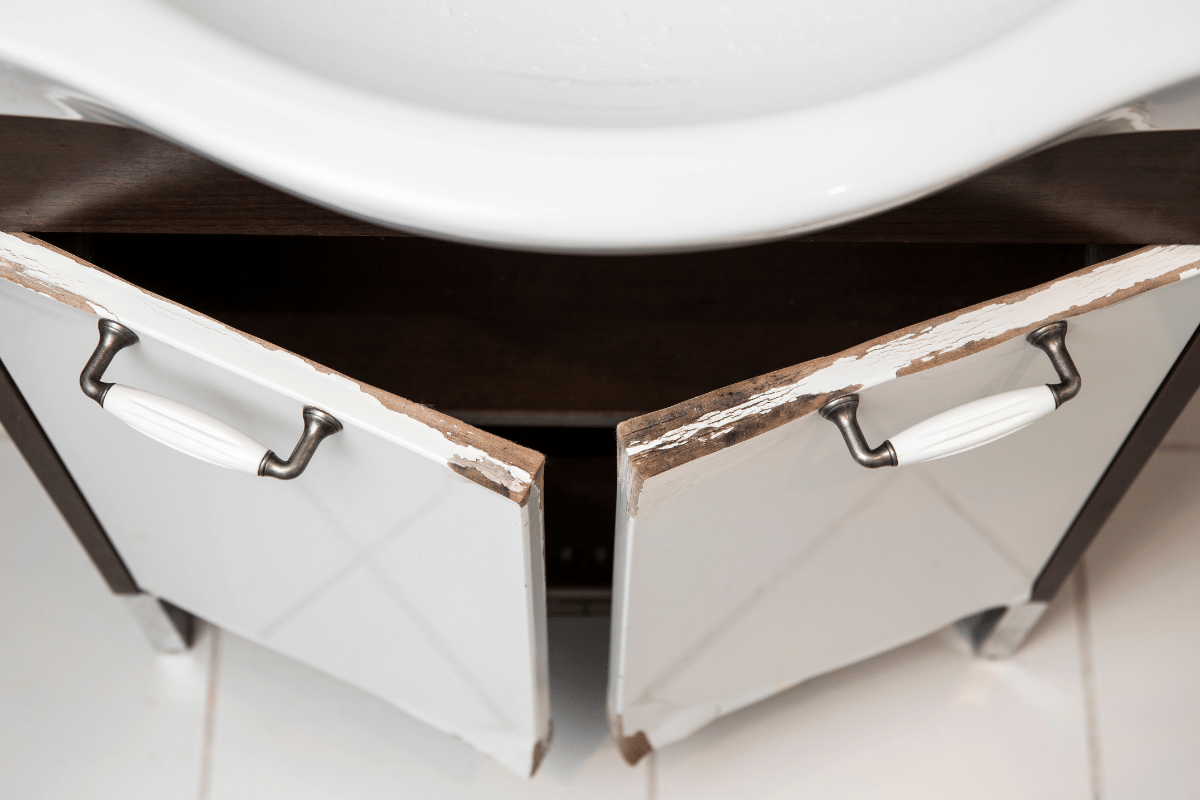
Before starting, it is important to understand when replacement makes more sense than repair. If your vanity has swollen wood from moisture, cracked countertops, or outdated plumbing fixtures, replacement is often the better option. Many homeowners in Southwest Ontario also upgrade their vanity during a bathroom renovation to improve storage and match updated finishes.
Tools and Materials You Will Need
To replace a vanity properly, gather everything before you begin:
- Adjustable wrench
- Screwdriver
- Utility knife
- Level
- Silicone caulk
- Bucket and towels
- New vanity and faucet
Having the right tools ensures the process goes smoothly and reduces the risk of damage to plumbing connections.
Step 1: Turn Off Water Supply
Start by shutting off the water valves under the sink. Turn on the faucet to release any remaining pressure and drain leftover water into a bucket. This step is essential to avoid leaks or water damage during removal.
Step 2: Disconnect Plumbing
Carefully disconnect the water supply lines using a wrench. Then remove the drain pipe. Keep a bucket underneath to catch any remaining water. Take note of how everything is connected so reinstallation is easier later.
Step 3: Remove the Old Vanity
Use a utility knife to cut through any caulking between the vanity and the wall. Unscrew the vanity from the wall studs and gently pull it away. If the countertop is separate, you may need to remove it first.

In older homes across Kitchener and Cambridge, vanities may be firmly attached due to years of caulking or paint layers, so take your time to avoid damaging the wall.
Step 4: Prepare the Area
Once the old vanity is removed, clean the area thoroughly. Check for water damage, mould, or uneven flooring. This is a good opportunity to make minor repairs before installing the new unit.
Use a level to ensure the floor is even. If it is not, you may need to use shims when installing the new vanity.
Step 5: Install the New Vanity
Place the new vanity in position and ensure it is level. Secure it to the wall using screws into the studs. A stable installation is important for long term durability.
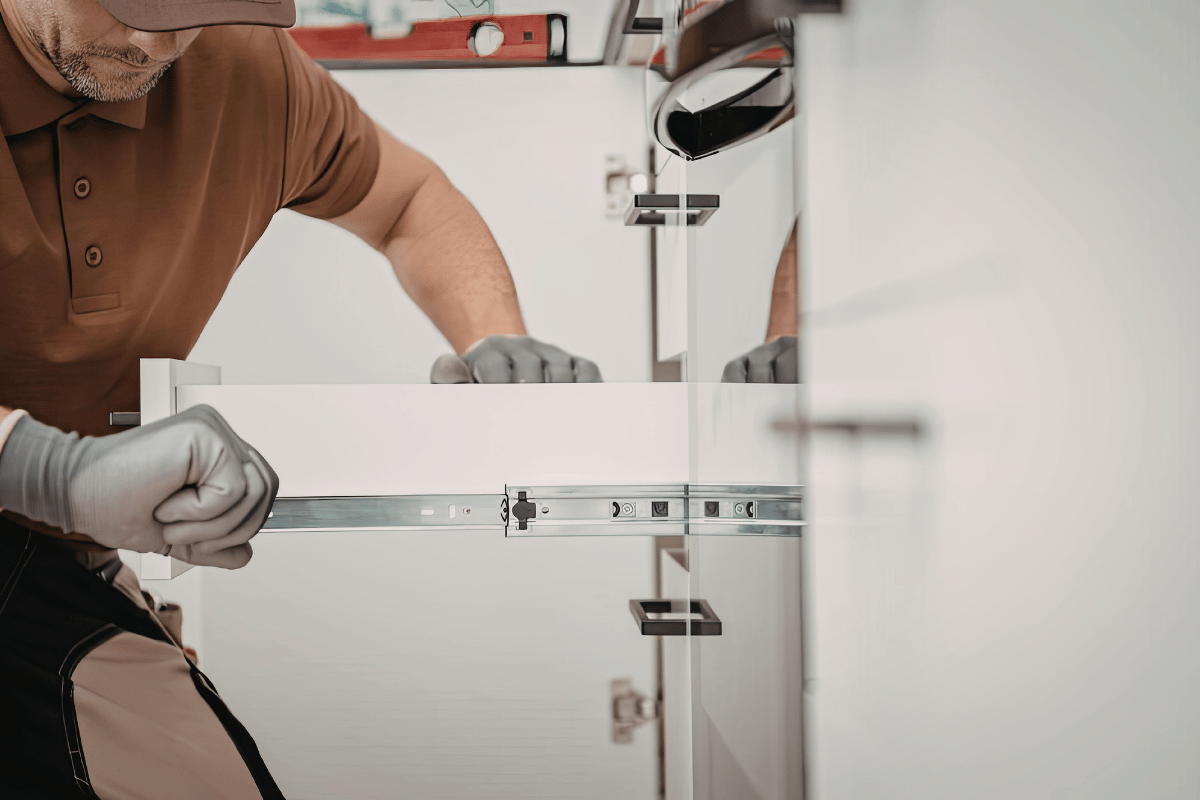
If your new vanity includes a separate countertop, attach it according to the manufacturer’s instructions and seal the edges with silicone caulk.
Step 6: Reconnect Plumbing
Reconnect the water supply lines and drain pipe. Turn the water back on slowly and check for leaks. Tighten connections if needed but avoid over tightening, which can damage fittings.
Step 7: Final Touches
Apply caulking along the edges where the vanity meets the wall. Install the faucet, mirror, and any additional fixtures. Clean the surface and test everything to ensure proper function.
Should You DIY or Hire a Professional
While replacing a vanity can be a manageable DIY project, it depends on your comfort level with plumbing and installation. Many homeowners in Waterloo and surrounding areas prefer hiring a contractor for remodelling to ensure proper installation and avoid future issues.
If your project involves moving plumbing lines, upgrading electrical fixtures, or addressing hidden damage, working with an expert home renovation team is often the safer choice.
Replacing a bathroom vanity is a practical upgrade that can significantly improve your bathroom’s appearance and usability. By following the right steps and planning carefully, homeowners in Southwest Ontario can complete this project with confidence.
If you want a seamless result with long term reliability, Aahrenos offers professional renovation services tailored to local homes and building standards.