
Installing a sliding patio door is one of the most effective ways to improve natural light, energy efficiency, and access to your backyard. For homeowners in Kitchener, Waterloo, and Cambridge, this upgrade is especially valuable during long Canadian winters when insulation and proper sealing matter most. While this project can be done by experienced DIY homeowners, it requires precision, proper tools, and careful preparation to avoid air leaks or water damage.
Below is a practical, step-by-step guide to help you understand the installation process.
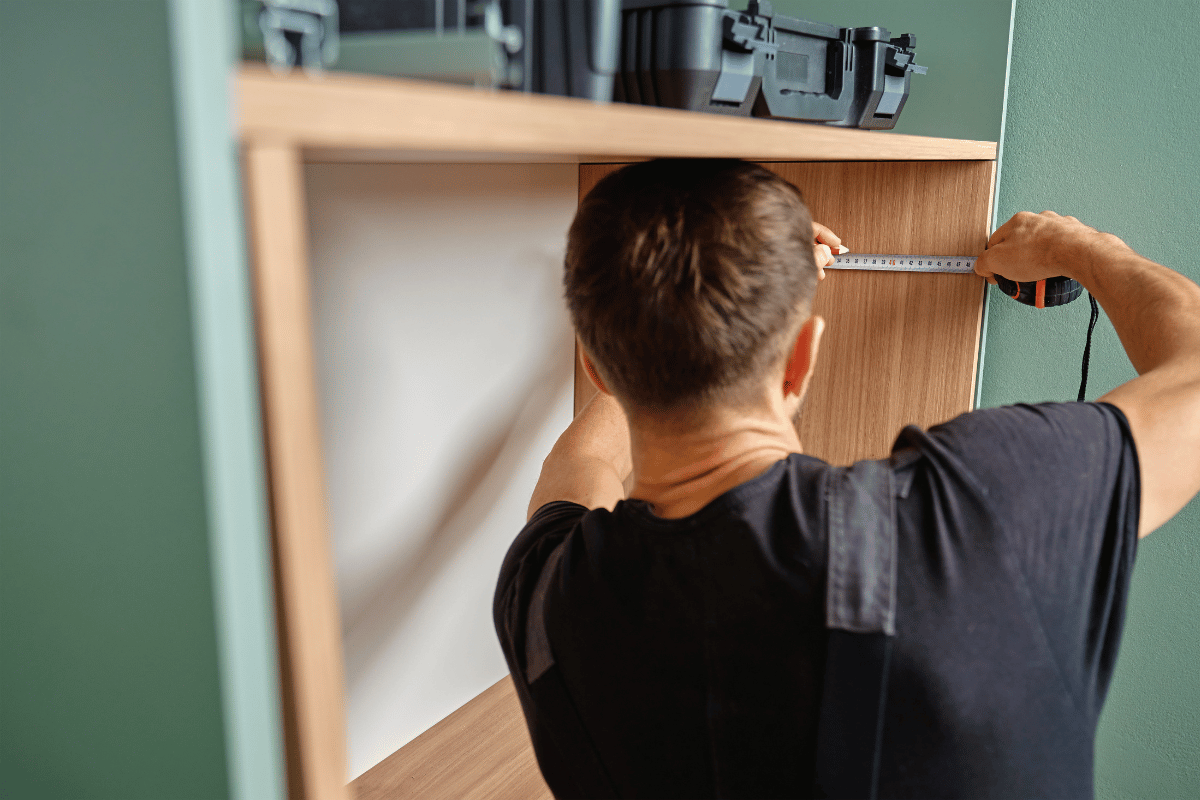
1. Measure the Opening Correctly
Start by measuring the width, height, and depth of your existing doorway. Take measurements at multiple points because older homes in Southwest Ontario may have slightly uneven frames. Always use the smallest measurement to ensure a proper fit.
2. Remove the Old Door
Carefully take out the existing door, trim, and frame. Use a pry bar and utility knife to loosen caulking and fasteners. Be cautious not to damage surrounding walls or siding. Once removed, clean the opening and check for any signs of rot or moisture damage.
3. Prepare the Rough Opening
Ensure the opening is level, square, and structurally sound. Repair any damaged wood and install a waterproof sill pan or membrane. This step is essential in Canadian climates where snow and rain can lead to moisture infiltration.
At this stage, many homeowners prefer hiring a Certified contractor in local area to ensure the structure is properly sealed and meets building standards.
4. Dry Fit the New Door
Before permanently installing, place the sliding patio door into the opening to confirm it fits correctly. Check alignment, level, and plumb. Adjust shims as needed to ensure the frame is straight and stable.
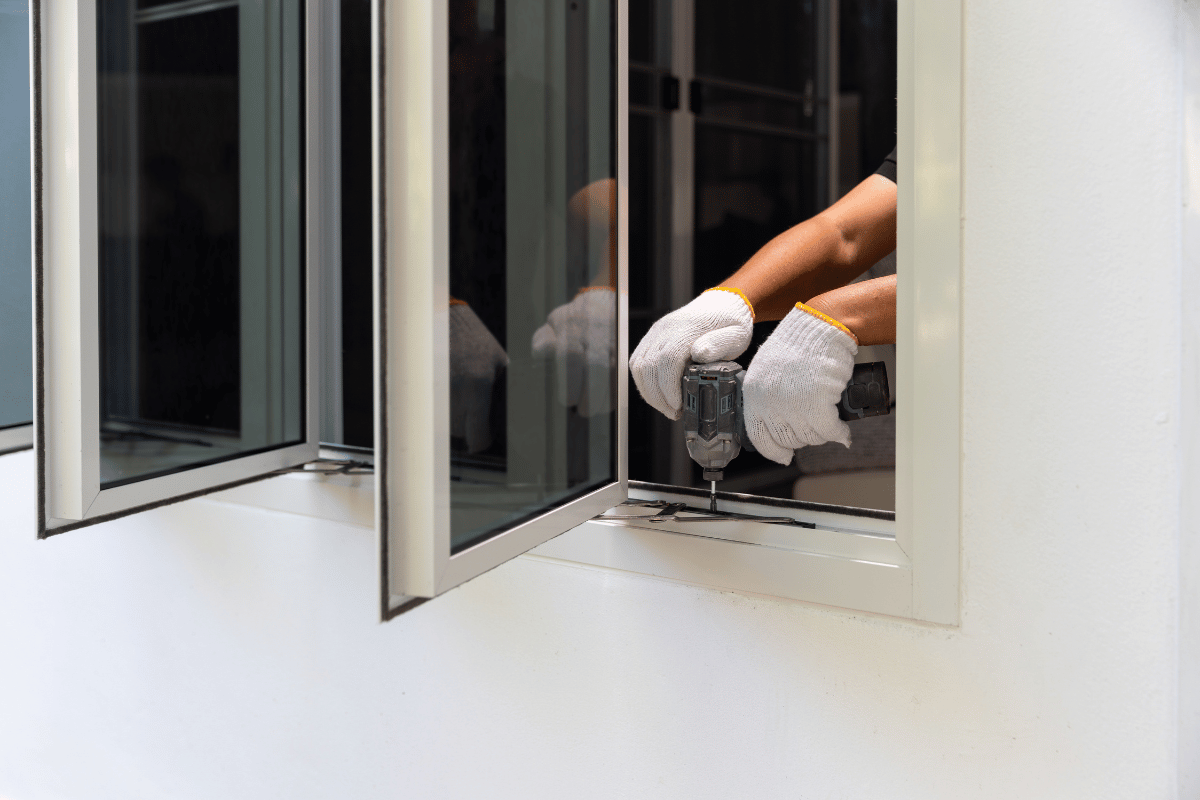
5. Secure the Door Frame
Once aligned, fasten the frame using screws through the manufacturer’s recommended points. Do not overtighten, as this may warp the frame. Use shims to maintain even spacing and ensure smooth sliding operation.
6. Insulate and Seal Properly
Fill gaps between the frame and wall with low-expansion foam insulation. Then apply exterior-grade caulking around all edges to prevent drafts and water leakage. Proper sealing is especially important in Ontario’s freeze-thaw cycles.

A Contractor for remodelling can help ensure the insulation and sealing meet long-term durability standards, especially for energy efficiency upgrades.
7. Install Door Panels and Hardware
Insert the fixed panel first, followed by the sliding panel. Attach handles, locks, and rollers according to the manufacturer’s instructions. Test the sliding motion several times to ensure smooth operation.
8. Final Inspection and Adjustments
Check for alignment, locking functionality, and smooth sliding. Make final adjustments to rollers or shims if needed. Clean the glass and frame to complete the installation.
Installing a sliding patio door can significantly improve both the look and energy performance of your home. However, precision is key. Homeowners in Kitchener, Waterloo, and Cambridge should carefully assess whether to complete the installation themselves or hire professionals for a flawless finish. Proper installation ensures long-term durability, reduced energy costs, and better comfort throughout the year.