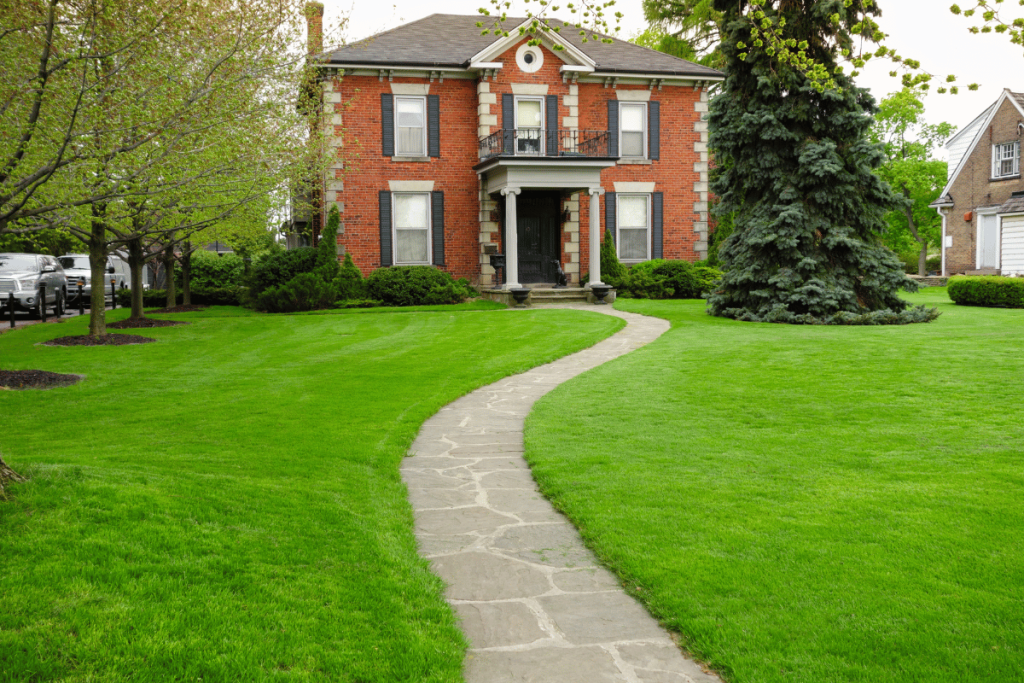
A well-built sidewalk not only enhances your home’s curb appeal but also provides a safe and durable walking path. If you are a homeowner in Kitchener, Waterloo, or Cambridge, constructing a concrete sidewalk might seem challenging, but with the right approach, it is achievable and long-lasting.
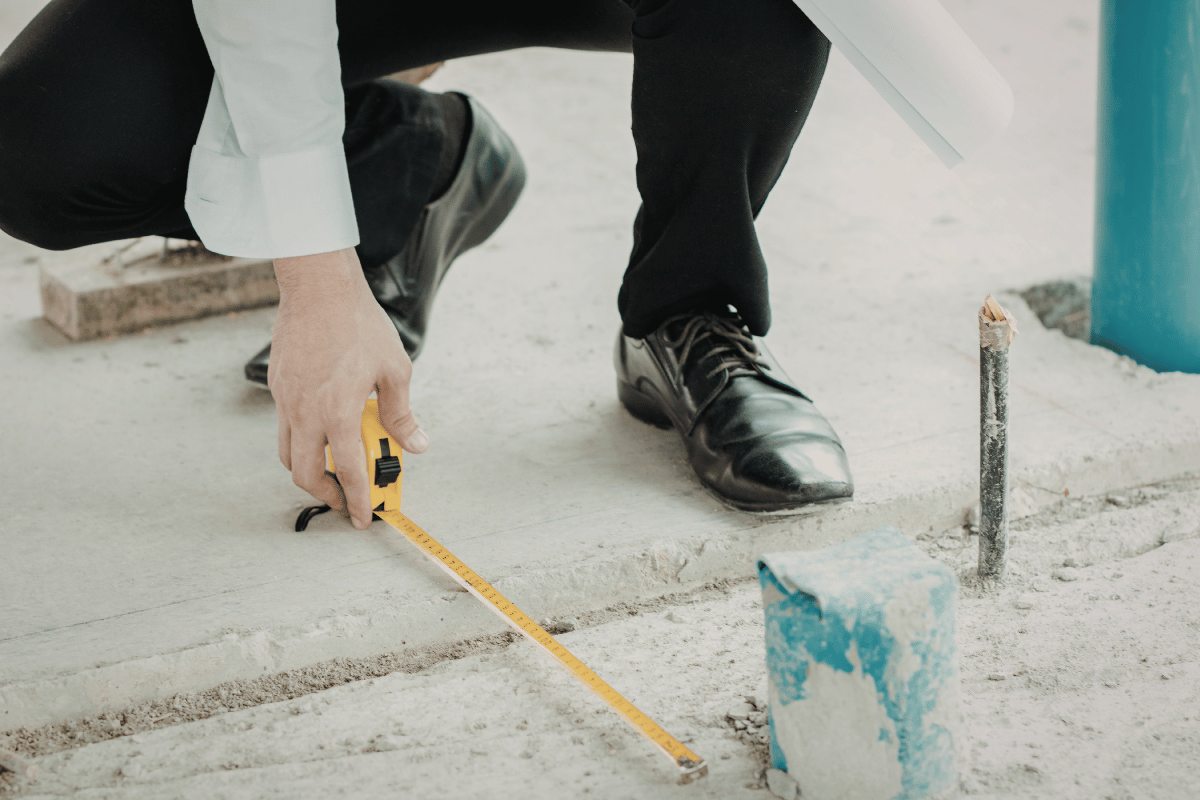
Step 1: Plan and Measure
Start by deciding the sidewalk’s location and length. Mark the area using stakes and string to outline the path. Measure the width you want, usually between 3 to 4 feet for residential sidewalks. Proper planning ensures your sidewalk is straight and meets any local property requirements.
Step 2: Prepare the Ground
Remove any grass, roots, or debris from the area. Excavate the soil to a depth of around 4 to 6 inches. If drainage is an issue, consider creating a slight slope away from your home to prevent water pooling. Compact the soil using a tamper to create a stable base for the concrete.
Step 3: Add a Gravel Base
Spread a layer of gravel, about 2 to 3 inches thick, and compact it. This base helps with drainage and prevents cracking. Proper groundwork is essential for durability, especially in Canadian weather where freezing and thawing can affect concrete surfaces.
Step 4: Build the Forms
Use wooden boards to create the forms that will hold the concrete in place. Secure the boards with stakes and ensure they are level. The forms guide the concrete and give your sidewalk clean, straight edges.
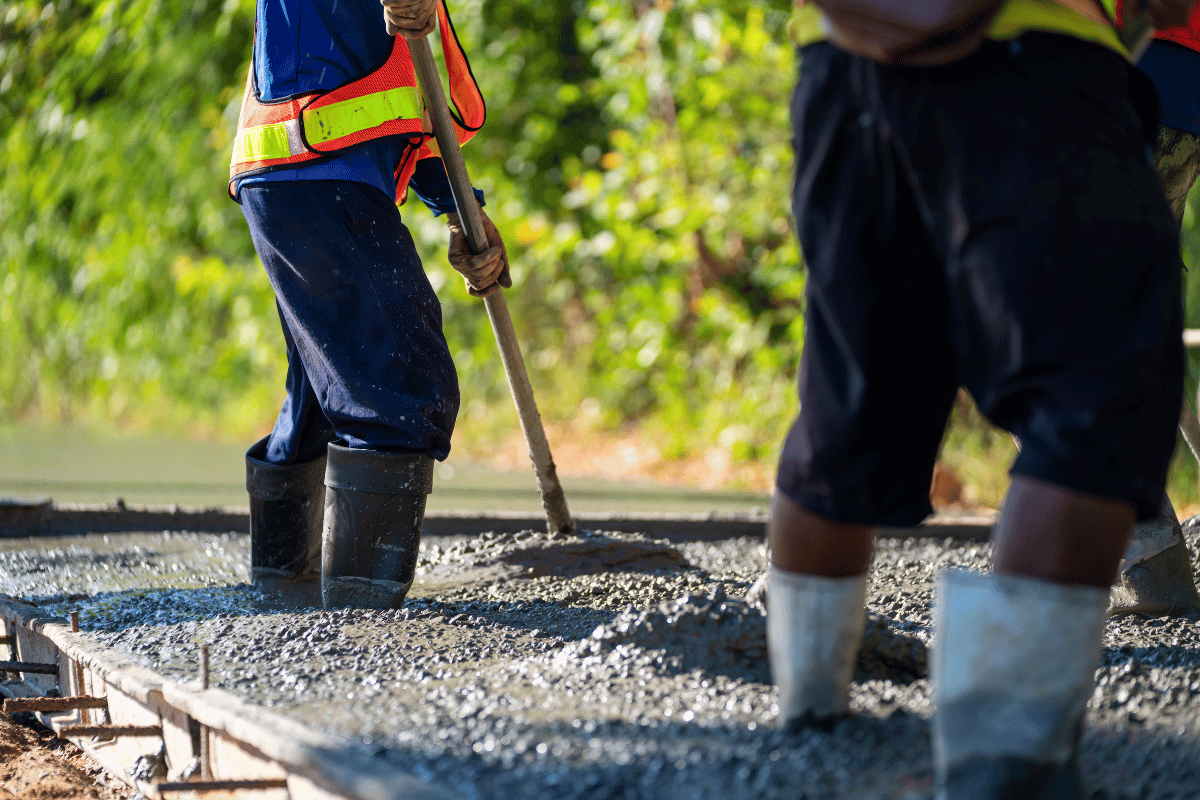
Step 5: Mix and Pour Concrete
Mix the concrete according to the instructions on the bag, aiming for a thick, workable consistency. Pour the concrete into the forms and spread it evenly with a shovel or trowel. Avoid overworking the surface, as this can cause weak spots.
Step 6: Level and Smooth
Use a straightedge or screed to level the surface by moving it back and forth across the forms. After leveling, smooth the concrete with a float to create a uniform texture. If desired, use a broom to add a non-slip finish, which is especially useful in areas prone to rain or snow.
Step 7: Create Control Joints
Control joints help prevent cracks from forming as the concrete cures. Use a groover tool or saw to make joints every 3 to 5 feet along the sidewalk. Properly spaced joints can save costly repairs later.
Step 8: Cure the Concrete
Curing is critical for strength. Keep the sidewalk moist for at least 5 to 7 days by covering it with plastic sheeting or spraying it with water regularly. Avoid heavy foot traffic during this time to prevent surface damage.
Step 9: Remove Forms and Finish Edges
Once the concrete has cured, carefully remove the wooden forms. Smooth any rough edges with an edging tool and clean the surrounding area. Your new sidewalk should be strong, level, and ready to withstand daily use.
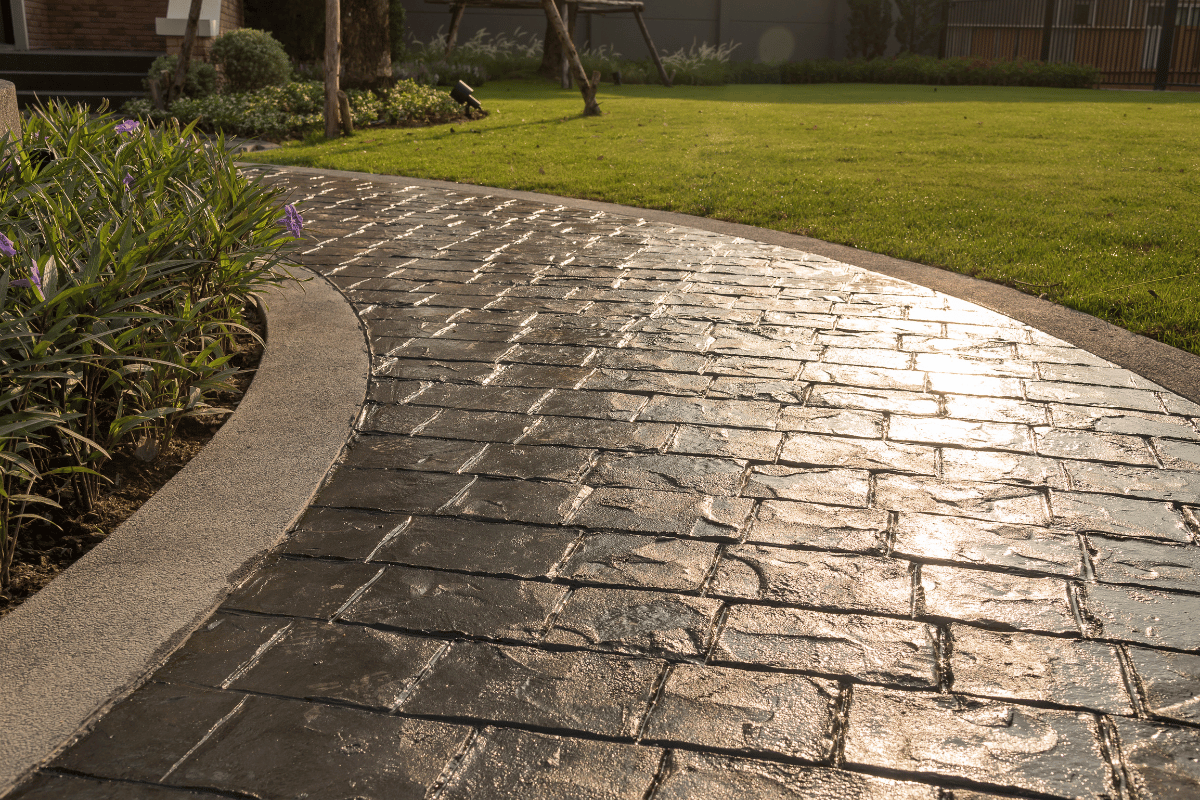
For homeowners looking for a professional touch, working with an expert home renovation team can ensure a precise and durable result. A licensed renovation contractor can also handle more complex installations, including sidewalks with curves or decorative finishes, saving time and avoiding potential mistakes.
By following these steps, you can create a concrete sidewalk that enhances your property, provides safety, and lasts for years. Regular maintenance, such as sealing the concrete every few years, can further extend its life and keep it looking fresh.