

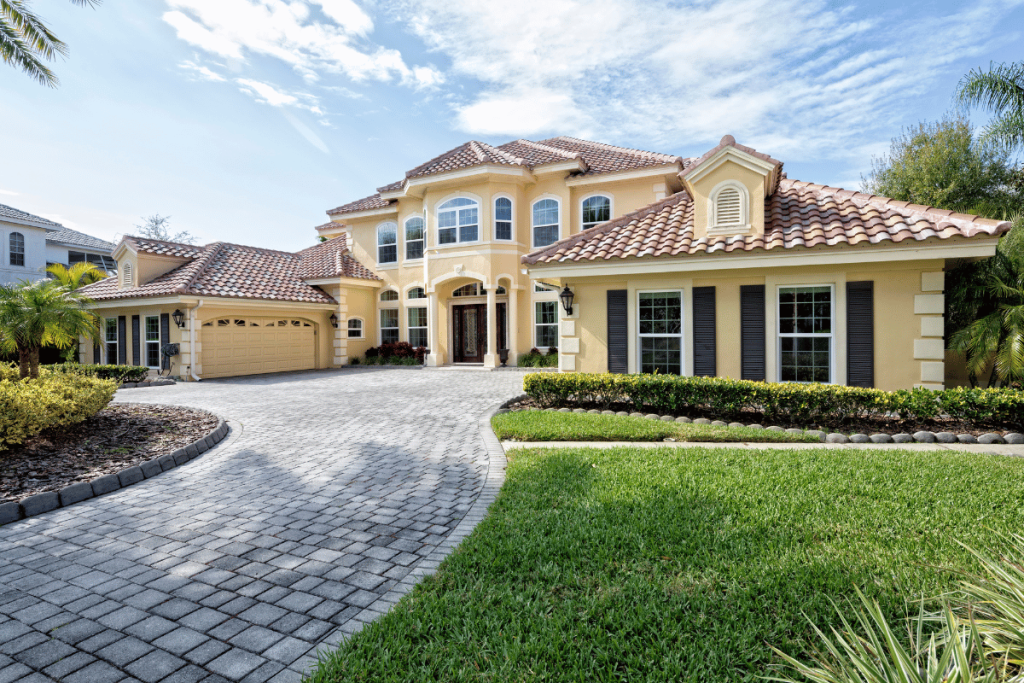
A paver sidewalk is a great way to improve the appearance and functionality of your property. Many homeowners across Kitchener, Waterloo, and Cambridge choose pavers because they are durable, attractive, and easier to repair compared to poured concrete. With the right preparation and materials, you can build a walkway that lasts through Ontario’s seasonal changes.
This guide explains the practical steps involved in making a sidewalk with pavers so you can plan the project properly before getting started.
Plan the Layout Before You Begin
The first step is deciding where your sidewalk will go and how wide it should be. Most residential sidewalks are between 36 and 48 inches wide, which allows comfortable walking space.
Mark the path using stakes and string or landscape marking paint. Consider how the walkway connects your driveway, porch, garden, or backyard. Planning the path carefully helps avoid drainage issues and unnecessary cutting of pavers later.
If your project is part of a larger landscaping or Bathroom renovation plan, it is helpful to design the outdoor pathway so it complements the rest of the property improvements.
Gather the Required Materials
Before excavation begins, gather all the materials you will need. The main components include:
- Concrete or stone pavers
- Crushed gravel base
- Bedding sand
- Edge restraints
- Landscape fabric
- Plate compactor or hand tamper
- Level and measuring tape
Homeowners in Southwest Ontario should choose pavers designed for freeze and thaw conditions. This helps prevent cracking or shifting during winter.
Excavate the Walkway Area
Excavation creates the foundation that supports the pavers. Dig the marked area about 6 to 8 inches deep depending on soil conditions.
Remove grass, roots, and loose soil. The surface should be even and slightly sloped away from your home to allow proper water drainage. A common slope recommendation is about one inch for every four feet.
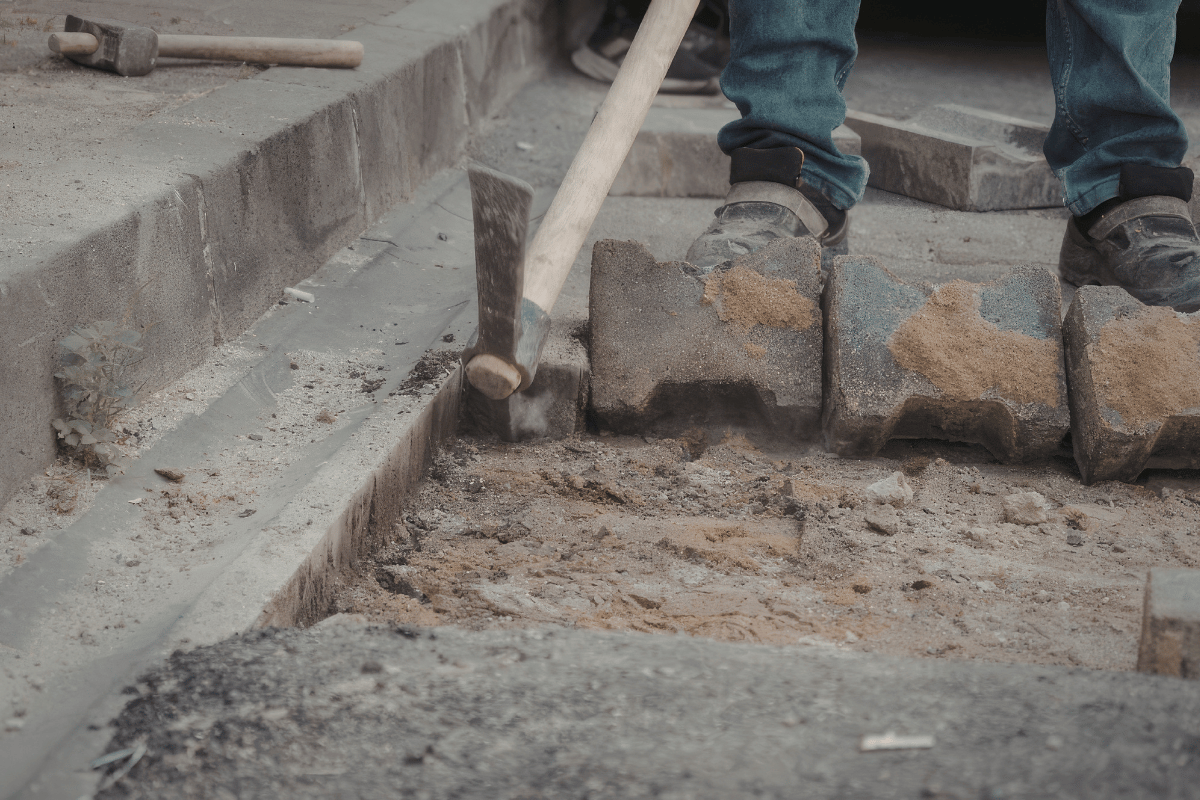
After excavation, lay landscape fabric to prevent weeds from growing through the walkway.
Install the Gravel Base
The gravel base is one of the most important layers in a paver sidewalk. It provides stability and prevents shifting over time.
Add about 4 to 6 inches of crushed gravel and compact it in layers using a plate compactor or hand tamper. Each layer should be level and firmly packed before adding the next.
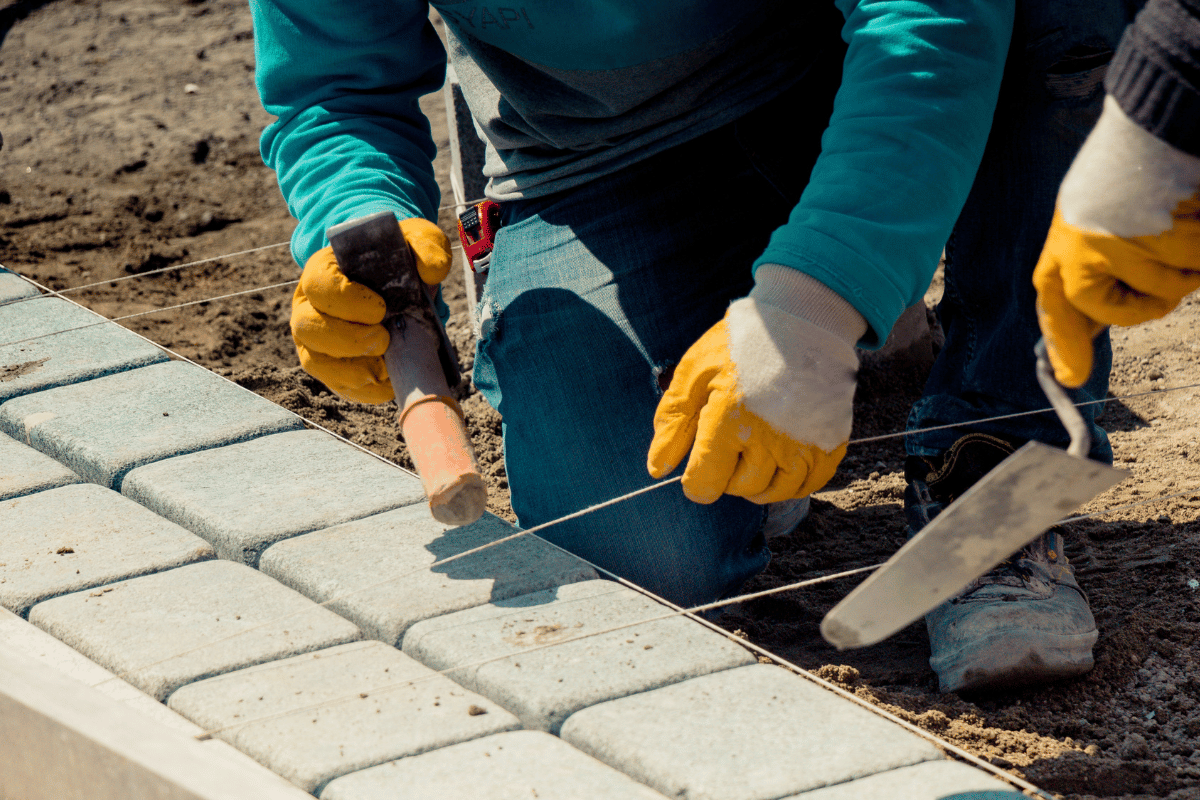
A properly compacted base is essential for sidewalks in areas like Kitchener and Waterloo where winter frost can cause ground movement.
Add the Sand Bedding Layer
Once the gravel base is compacted, spread a one inch layer of bedding sand across the surface. This sand layer allows you to level the pavers precisely.
Use a straight board or screed to smooth the sand so it becomes even and flat. Avoid walking on the prepared sand as it can create uneven spots.
Lay the Pavers
Start laying the pavers from one corner or edge and work outward in your chosen pattern. Popular patterns include running bond, basket weave, and herringbone.
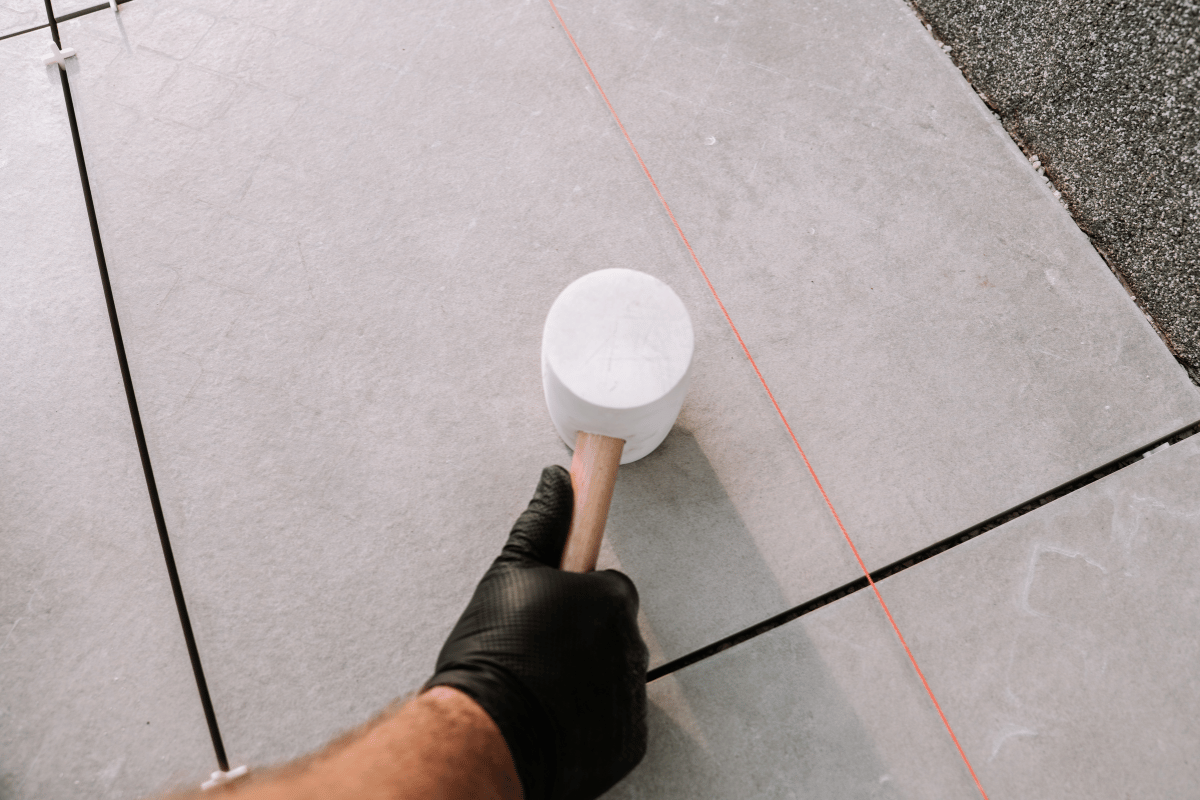
Place each paver carefully and tap it gently into the sand using a rubber mallet. Use a level frequently to ensure the surface remains even.
At the edges, you may need to cut some pavers using a masonry saw or paver splitter to maintain a clean and professional finish.
Secure the Edges and Fill the Joints
Install edge restraints along the sides of the sidewalk to keep the pavers from spreading outward. These restraints hold everything in place over time.
After the pavers are installed, spread fine joint sand over the surface and sweep it into the gaps between the stones. Compact the sidewalk again so the sand settles firmly.
Adding joint sand helps lock the pavers together and improves the durability of the walkway.
When to Call a Professional
Building a paver sidewalk can be manageable for small DIY projects. However, larger pathways or projects involving grading and drainage may require professional assistance.
A skilled Contractor for remodelling can ensure the base preparation, drainage, and layout meet long term performance standards. Professional installation also saves time and reduces the risk of uneven surfaces or shifting pavers.
A well built paver sidewalk can significantly improve your home’s curb appeal and functionality. By planning the layout carefully, preparing a solid base, and installing the pavers properly, homeowners in Kitchener, Waterloo, and Cambridge can create a durable pathway that withstands Ontario weather.
If you are considering a larger outdoor upgrade or home improvement project, working with an experienced renovation team can help ensure everything is completed safely and efficiently.